Insulation is a critical aspect of home improvement that can significantly enhance energy efficiency and comfort in your residence. Understanding the different types of insulation, their removal and replacement methods, installation techniques, and the pros and cons of each option can empower you to tackle this project with confidence. In this comprehensive guide, we will delve into the various types of insulation available, provide detailed instructions for removal and installation, and present key information in helpful tables.
Understanding Insulation – How to DIY Insulation
Insulation works by reducing heat transfer, keeping your home warm in winter and cool in summer. The right insulation can lead to significant energy savings and improved indoor air quality.
Types best for DIY Insulation
Here’s a detailed look at the most common types of insulation used in residential construction:
| Insulation Type | R-Value per Inch | Cost per Sq. Ft. | Pros | Cons |
|---|---|---|---|---|
| Fiberglass | R-2.9 to R-3.8 | $0.40 – $0.70 | Cost-effective, non-combustible Learn more | Irritation, requires protective gear Safety guidelines |
| Foam Board | R-4 to R-6.5 | $0.75 – $1.50 | High insulating value, moisture-resistant Benefits | Expensive, creates waste Recycling info |
| Spray Foam | R-6 to R-7 | $1.00 – $3.00 | Excellent air barrier, high R-value Installation | Costly, professional installation often needed Cost info |
| Cellulose | R-3.1 to R-3.7 | $0.60 – $1.00 | Environmentally friendly, reduces air leakage Learn more | Settles over time Long-term effects |
| Mineral Wool | R-3.1 to R-4.3 | $0.70 – $1.50 | Soundproofing, fire-resistant Advantages | Higher cost, heavier Installation tips |
Methods of Removal – DIY Insulation
Removing old insulation is essential for a successful DIY project. Here are methods for removing various types of insulation:
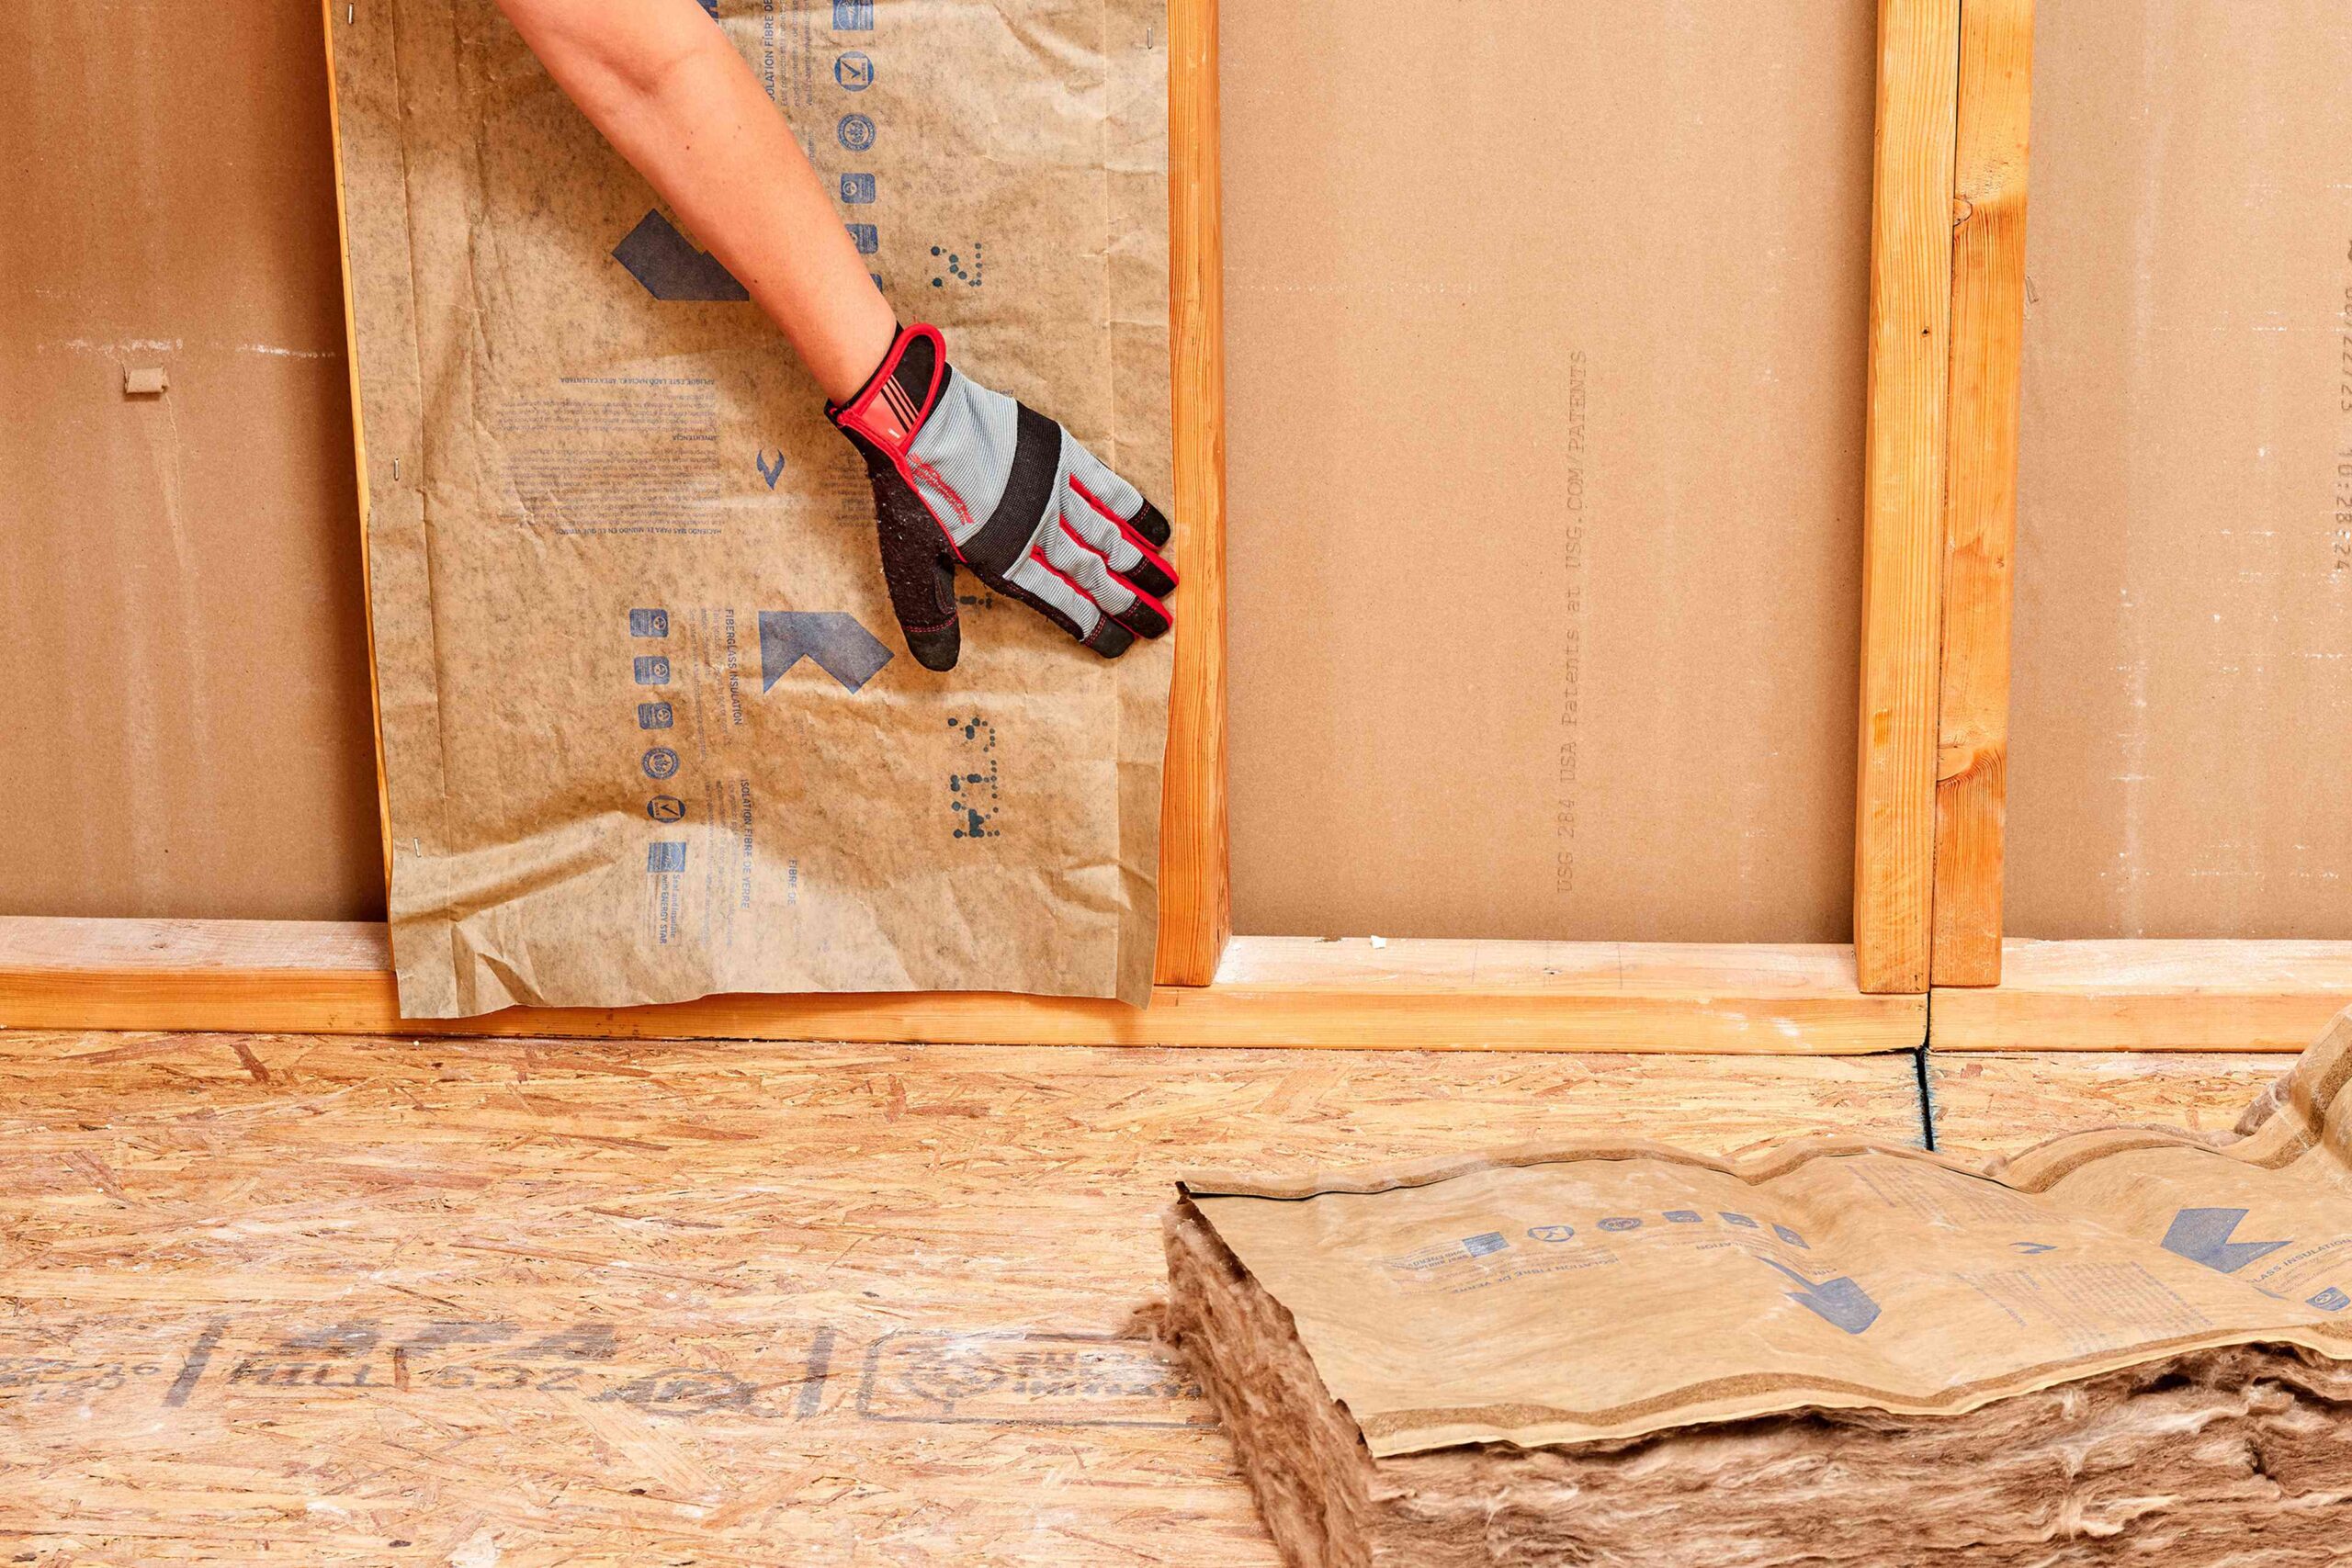
Fiberglass Insulation
- Tools Needed: Utility knife, protective gear (gloves, mask).
- Method: Cut the insulation into manageable pieces using the utility knife. Carefully pull it out, avoiding damage to the surrounding structure. Removal techniques.
Foam Board Insulation
- Tools Needed: Pry bar, utility knife.
- Method: Pry out the boards carefully. If glued, use a utility knife to cut along the seams. Detailed steps.
Spray Foam Insulation
- Tools Needed: Oscillating tool, safety goggles.
- Method: Cut the foam away from the wall with the oscillating tool. Wear goggles to protect from debris. Safety guidelines.
Cellulose Insulation
- Tools Needed: Vacuum, protective gear.
- Method: Use a vacuum specifically designed for insulation removal. Ensure the area is well-ventilated. Vacuum removal tips.
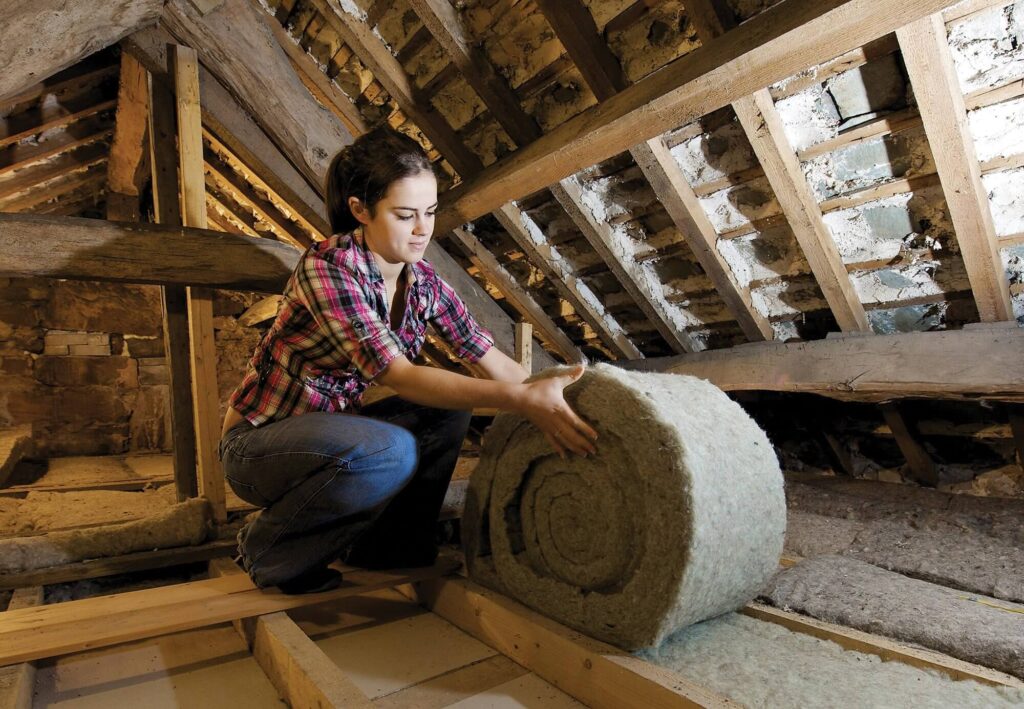
Mineral Wool Insulation
- Tools Needed: Utility knife, protective gear.
- Method: Cut batts to size and pull them away from walls or ceilings. Installation tips.
Methods – DIY Insulation
Each insulation type has unique installation techniques. Here are detailed methods for DIY installation:
Fiberglass Insulation
- Installation Technique: Cut the batts to fit snugly between the studs. Place them without compressing to maintain R-value. Use a staple gun to secure paper flaps to the studs if necessary. Installation guide.
Foam Board Insulation
- Installation Technique: Cut the boards to fit your space. Apply adhesive to the back and press against the wall. Seal joints with tape or spray foam for an air-tight fit. How to install.
Spray Foam Insulation
- Installation Technique: Use a spray foam kit to apply the foam directly into wall cavities or gaps. Ensure even coverage for maximum effectiveness. Allow it to expand and cure according to the manufacturer’s instructions. DIY tips.
Cellulose Insulation
- Installation Technique: Blow cellulose into the desired space using a rental blower. Ensure an even distribution for effective insulation. Follow manufacturer guidelines for density and coverage. How to install.
Mineral Wool Insulation
- Installation Technique: Cut batts to fit snugly and place between studs. Use friction fit to hold them in place. Seal any gaps with a suitable sealant. Tips for installation.
Pros and Cons of Different Insulation Types
To help you compare the pros and cons of each type of insulation, here’s a table:
| Insulation Type | Pros | Cons |
|---|---|---|
| Fiberglass | Cost-effective, non-combustible | Irritation, requires protective gear |
| Foam Board | High insulating value, moisture-resistant | Expensive, creates waste |
| Spray Foam | Excellent air barrier, high R-value | Costly, professional installation often needed |
| Cellulose | Environmentally friendly | Settles over time |
| Mineral Wool | Soundproofing, fire-resistant | Higher cost, heavier |
Tips and Tricks for DIY Insulation
- Safety First: Always wear protective gear such as gloves, goggles, and a mask when handling insulation materials, especially fiberglass. This prevents skin irritation and respiratory issues. Safety Guidelines.
- Measure Twice: Accurate measurements ensure you buy the right amount of insulation, minimizing waste and cost. Take detailed measurements of the areas you plan to insulate. Measuring Tips.
- Choose the Right Type: Different areas of your home may require different types of insulation. For example, use spray foam in hard-to-reach areas, while fiberglass is great for walls and attics. Choosing Insulation.
- Seal Air Leaks: Before installing insulation, seal any air leaks around windows, doors, and ductwork. This maximizes the effectiveness of your insulation. Air Sealing Tips.
- Check Local Codes: Before starting your insulation project, check local building codes to ensure compliance. This will save you from potential headaches later on. Building Codes.
- Use a Thermal Camera: A thermal imaging camera can help identify areas that need insulation by showing where heat is escaping. This can be particularly useful in older homes. Thermal Imaging.
- Ventilation is Key: Proper ventilation is crucial, especially in attics. Ensure vents are not blocked by insulation to avoid moisture buildup and potential mold growth. Ventilation Tips.
- Install Vapor Barriers: In areas prone to moisture, such as basements, install vapor barriers to prevent moisture from penetrating insulation. Vapor Barriers.
- DIY Tools: Invest in quality tools like a good utility knife and a staple gun. These will make your installation smoother and more efficient. Essential Tools.
- Consult Professionals if Needed: If you feel overwhelmed, don’t hesitate to consult with a professional. They can offer guidance or even assist with difficult installations. Professional Help.
Conclusion
Insulating your home can lead to improved comfort and reduced energy costs. Understanding the various types, methods, and best practices is essential for a successful DIY project. If you’re in Horry County and need expert assistance, consider reaching out to Stroudswood Construction for professional advice and service. We’re here to help you with all your home improvement needs!

Comments are closed