
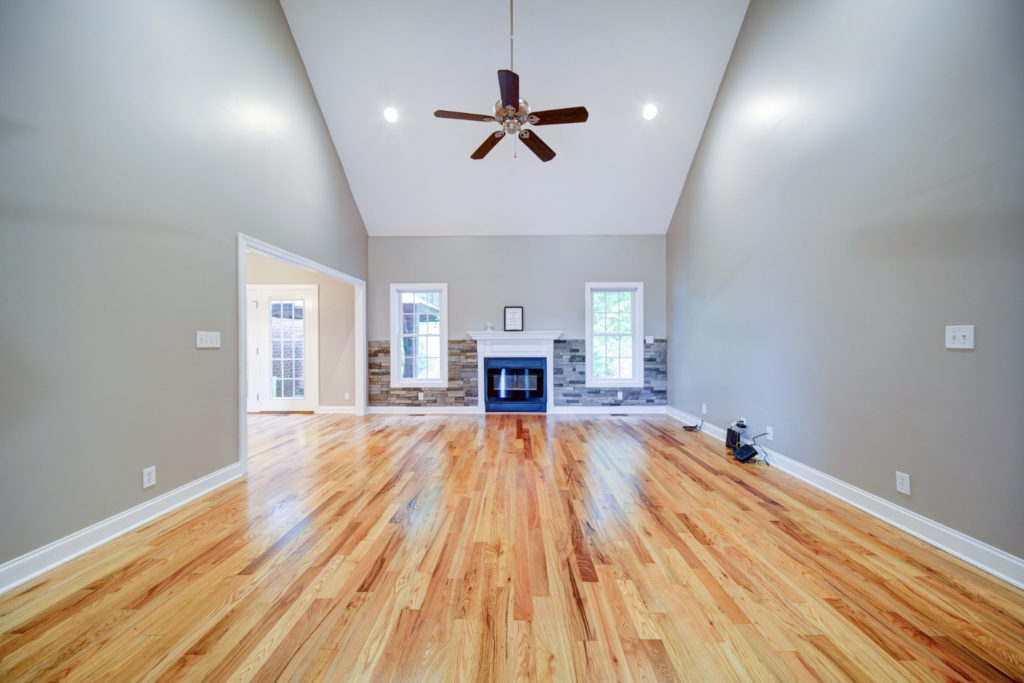
When it comes to enhancing the aesthetics and functionality of your home, flooring plays a crucial role. With various types of flooring available, understanding each option can help you make informed decisions for your residential space. In this article, we’ll explore the common types of flooring, methods for removal and installation, as well as finishing techniques commonly done in Horry County, SC.
Choosing the right flooring is essential for creating a comfortable and stylish living environment. Factors such as durability, maintenance, and aesthetic appeal influence the choice of flooring. Below are the most common types of residential flooring, each with its unique advantages and disadvantages.
Types of Residential Flooring
| Flooring Type | Description | Advantages | Disadvantages |
|---|---|---|---|
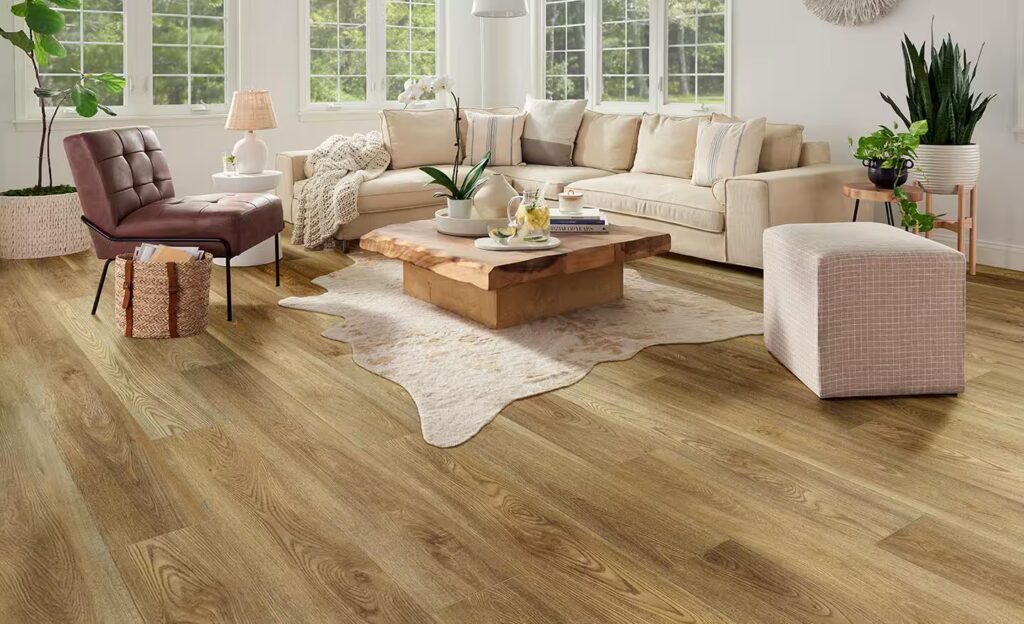
| Hardwood | Classic wood flooring Learn more about hardwood flooring | Long-lasting, refinishable Find out more about refinishing | Sensitive to moisture Read about moisture sensitivity |
| Engineered Hardwood | Veneer of real wood over plywood Explore engineered hardwood | Moisture-resistant, easy to install Installation tips | Limited refinishing potential Learn about refinishing limits |
| Laminate | Composite materials mimicking wood or stone Get details on laminate flooring | Affordable, easy to clean Cleaning tips | Cannot be refinished Read about laminate limitations |
| Vinyl | Luxury vinyl planks or traditional linoleum Learn about vinyl options | Water-resistant, versatile Discover vinyl flooring benefits | Susceptible to dents Dents in vinyl flooring |
| Tile | Durable for wet areas Tile flooring guide | Long-lasting, water-resistant Check out tile durability | Can be cold/slippery Read about tile disadvantages |
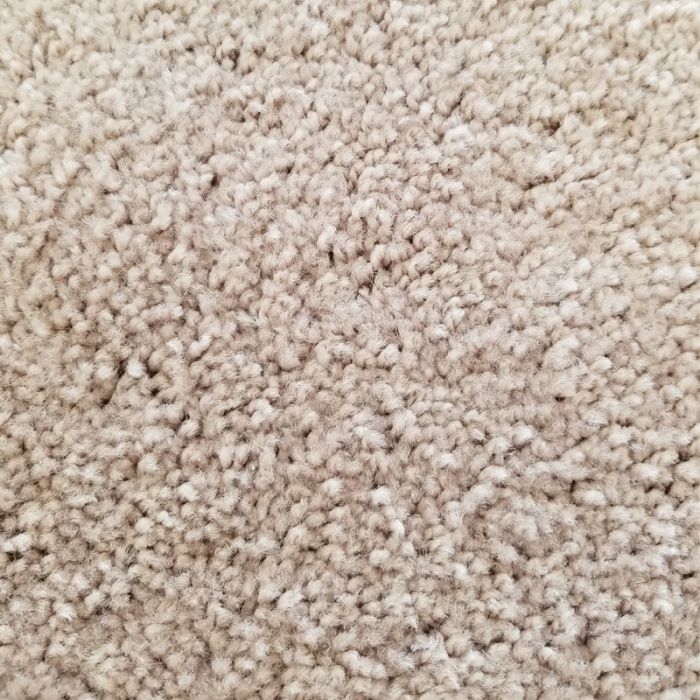
| Carpet | Soft and warm flooring Carpet overview | Cozy, sound-absorbing Benefits of carpet | Stains easily, high maintenance Learn about carpet care |
Methods of Removal for Residential Flooring
When replacing old flooring, proper removal techniques are crucial. Here’s a detailed guide for removing different types of flooring:
- Hardwood:
- Tools Needed: Pry bar, hammer, utility knife.
- Method: Start by removing any baseboards. Use the pry bar to lift up the boards gently, working your way from one end to the other. If boards are glued down, a utility knife can help cut through the adhesive. Take care to avoid damaging the subfloor, especially if you plan to install new flooring directly over it. This Old House Removal Tips
- Laminate:
- Tools Needed: Pull bar, tapping block, utility knife.
- Method: Begin by removing the baseboards and any transitions. Disconnect the planks at the seams by gently prying them apart with a pull bar. For glued laminate, a utility knife may be necessary to cut through adhesive. Work from one end to the other, being careful not to damage the underlying surface. Wood Magazine’s Guide
- Luxury Vinyl Plank (LVP):
- Tools Needed: Heat gun, utility knife, scraper.
- Method: Use a heat gun to soften the adhesive, making it easier to lift the vinyl. Cut the vinyl into manageable strips with a utility knife. Once removed, use a scraper to remove any remaining adhesive on the subfloor. This is crucial for ensuring a smooth surface for new flooring. Family Handyman’s Steps
- Tile:
- Tools Needed: Chisel, hammer, floor scraper, safety goggles.
- Method: Start by breaking the tiles with a hammer and chisel. Wear safety goggles to protect your eyes from flying debris. Once broken, use the chisel to lift the pieces off the floor. For a more stubborn tile, a floor scraper can help remove remnants and adhesive. HomeAdvisor’s Removal Process

- Carpet:
- Tools Needed: Utility knife, pliers, staple puller.
- Method: Cut the carpet into manageable sections and pull it up from the corners. Use pliers to remove any staples or tack strips left behind. It’s important to dispose of the carpet properly, especially if it’s worn or damaged. Better Homes & Gardens Removal Tips
Installation Techniques for Residential Flooring
Proper installation ensures durability and aesthetics. Here are detailed methods for various flooring types:
- Hardwood and Engineered Hardwood:
- Nail Down Method:
- Tools Needed: Nail gun, flooring nails, underlayment.
- Method: Lay down an underlayment to reduce noise and moisture. Start at one wall and position the first board, securing it with a nail gun at an angle. Continue placing boards, ensuring they fit snugly against each other. Stagger seams for a natural look. Installation Guide from Wood Magazine
- Glue Down Method:
- Tools Needed: Trowel, wood glue, underlayment.
- Method: Spread adhesive over the subfloor using a trowel. Lay the engineered hardwood planks directly onto the glue. Ensure proper alignment and weight them down to avoid gaps. This method is especially good for concrete subfloors. Learn More About Glue Down
- Floating Method:
- Tools Needed: Underlayment, tapping block.
- Method: Lay down an underlayment first. Begin installing the planks by clicking them together. Use a tapping block to ensure a tight fit. This method is favored for DIY projects due to its simplicity. Family Handyman Tips
- Nail Down Method:
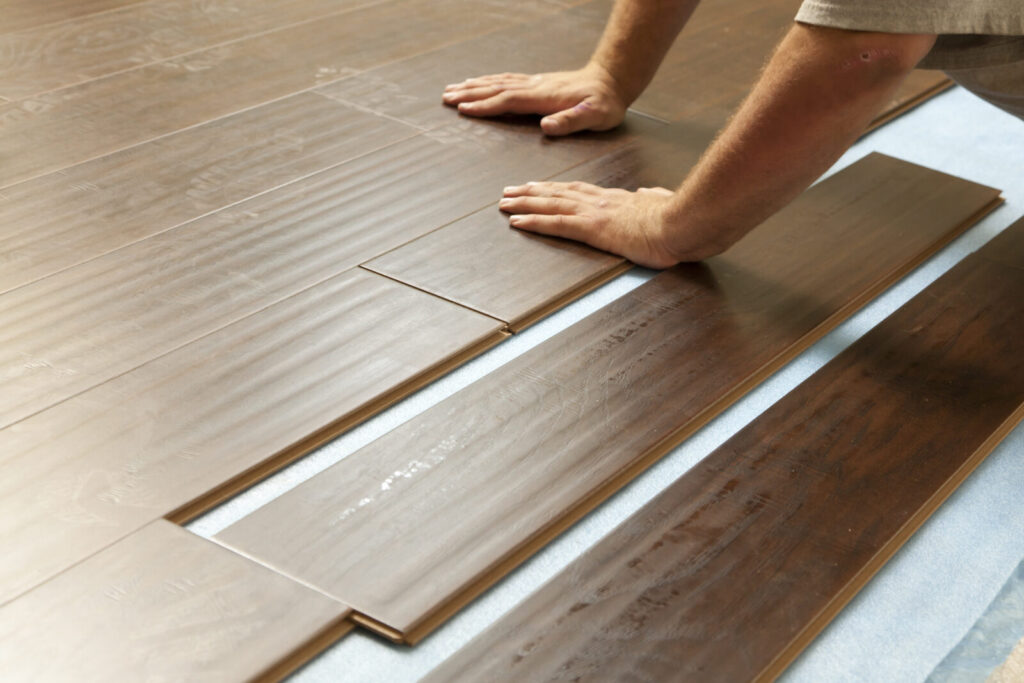
- Laminate Flooring:
- Floating Installation:
- Tools Needed: Underlayment, tapping block, pull bar.
- Method: Lay down the underlayment. Start in one corner, clicking the planks together. Use the tapping block to gently secure each piece. The last plank may require a pull bar to fit snugly against the wall. Installation Steps
- Floating Installation:
- Vinyl Flooring:
- Glue Down Method:
- Tools Needed: Vinyl adhesive, trowel, roller.
- Method: Spread the adhesive evenly on the subfloor using a trowel. Lay down the vinyl sheets, smoothing out any bubbles. Use a roller to ensure good contact and adhesion. Home Depot’s Guide
- Click-Lock Method:
- Tools Needed: Underlayment, tapping block.
- Method: Similar to laminate, lay an underlayment. Click the vinyl planks together, ensuring tight seams. This installation is quick and doesn’t require adhesive, making it perfect for DIYers. Home Depot Installation Tips
- Glue Down Method:
- Tile Flooring:
- Thin-Set Mortar Method:
- Tools Needed: Notched trowel, tile spacers, grout, level.
- Method: Apply thin-set mortar to the subfloor with a notched trowel. Lay the tiles, using spacers to maintain even gaps. Once set, fill the gaps with grout, using a float to ensure even distribution. This Old House Installation
- Grouting:
- Tools Needed: Grout float, sponge, bucket.
- Method: After tiles are set, mix grout and apply it into the gaps. Use a float to press the grout down, then wipe the surface with a damp sponge to clean excess. Learn about grouting
- Thin-Set Mortar Method:
- Carpet:
- Stretch-in Method:
- Tools Needed: Carpet stretcher, utility knife, tack strips.
- Method: Install tack strips around the perimeter of the room. Lay the carpet over the area and use a carpet stretcher to pull it tight against the tack strips. Trim the edges for a clean finish. Carpet Installation Guide
- Glue Down Method:
- Tools Needed: Carpet adhesive, trowel, utility knife.
- Method: Apply adhesive directly to the subfloor and lay the carpet on top, smoothing it down. This method is effective for areas with high moisture. Learn more about glue down installation
- Stretch-in Method:
Finishing Touches for Residential Flooring – Basics
Finishing your flooring enhances its appearance and longevity. Here are some key techniques:
- Sealing: Essential for hardwood and tile to protect against moisture and wear. Use a quality sealant specific to your flooring type. Sealing Guide
- Staining: Offers color variations for hardwood floors, allowing customization. Always test a small area first to ensure the desired shade. Staining Tips
- Baseboards and Trim: Completes the look of your flooring installation. Choose styles that complement your flooring for a cohesive appearance. Baseboard Installation
Key Considerations for the Residential Flooring
When selecting flooring, consider the following factors:
| Flooring Type | Durability | Maintenance | Aesthetics |
|---|---|---|---|
| Hardwood | High | Moderate | Timeless |
| Engineered Hardwood | Moderate | Low | Elegant |
| Laminate | Moderate | Low | Versatile |
| Vinyl | High | Low | Contemporary |
| Tile | High | Moderate | Classic |
| Carpet | Moderate | High | Cozy |
Conclusion: Choosing Stroudswood Construction for Your Residential Flooring Needs
At Stroudswood Construction, we understand the significance of selecting the right flooring for your home. Our expertise in residential construction in Horry County ensures that we provide quality installation, renovation, and finishing services tailored to your needs. Contact us to discuss your flooring project and transform your living space today!

Comments are closed